0652-MIDI keyboard casing - Aiskywing Industrial 3D Printing Showcase

▼
MIDI键盘外壳3D打印生产记录
MIDI keyboard casing
在生活的每一个挑战中,我们都能找到成长的机会。最近,有人找我们处理一个MIDI键盘外壳的项目,说是希望能呈现出完美的效果。
In every challenge of life, we can find opportunities for growth. Recently, someone approached us to handle a project for a MIDI keyboard casing, expressing a desire to achieve a perfect result.
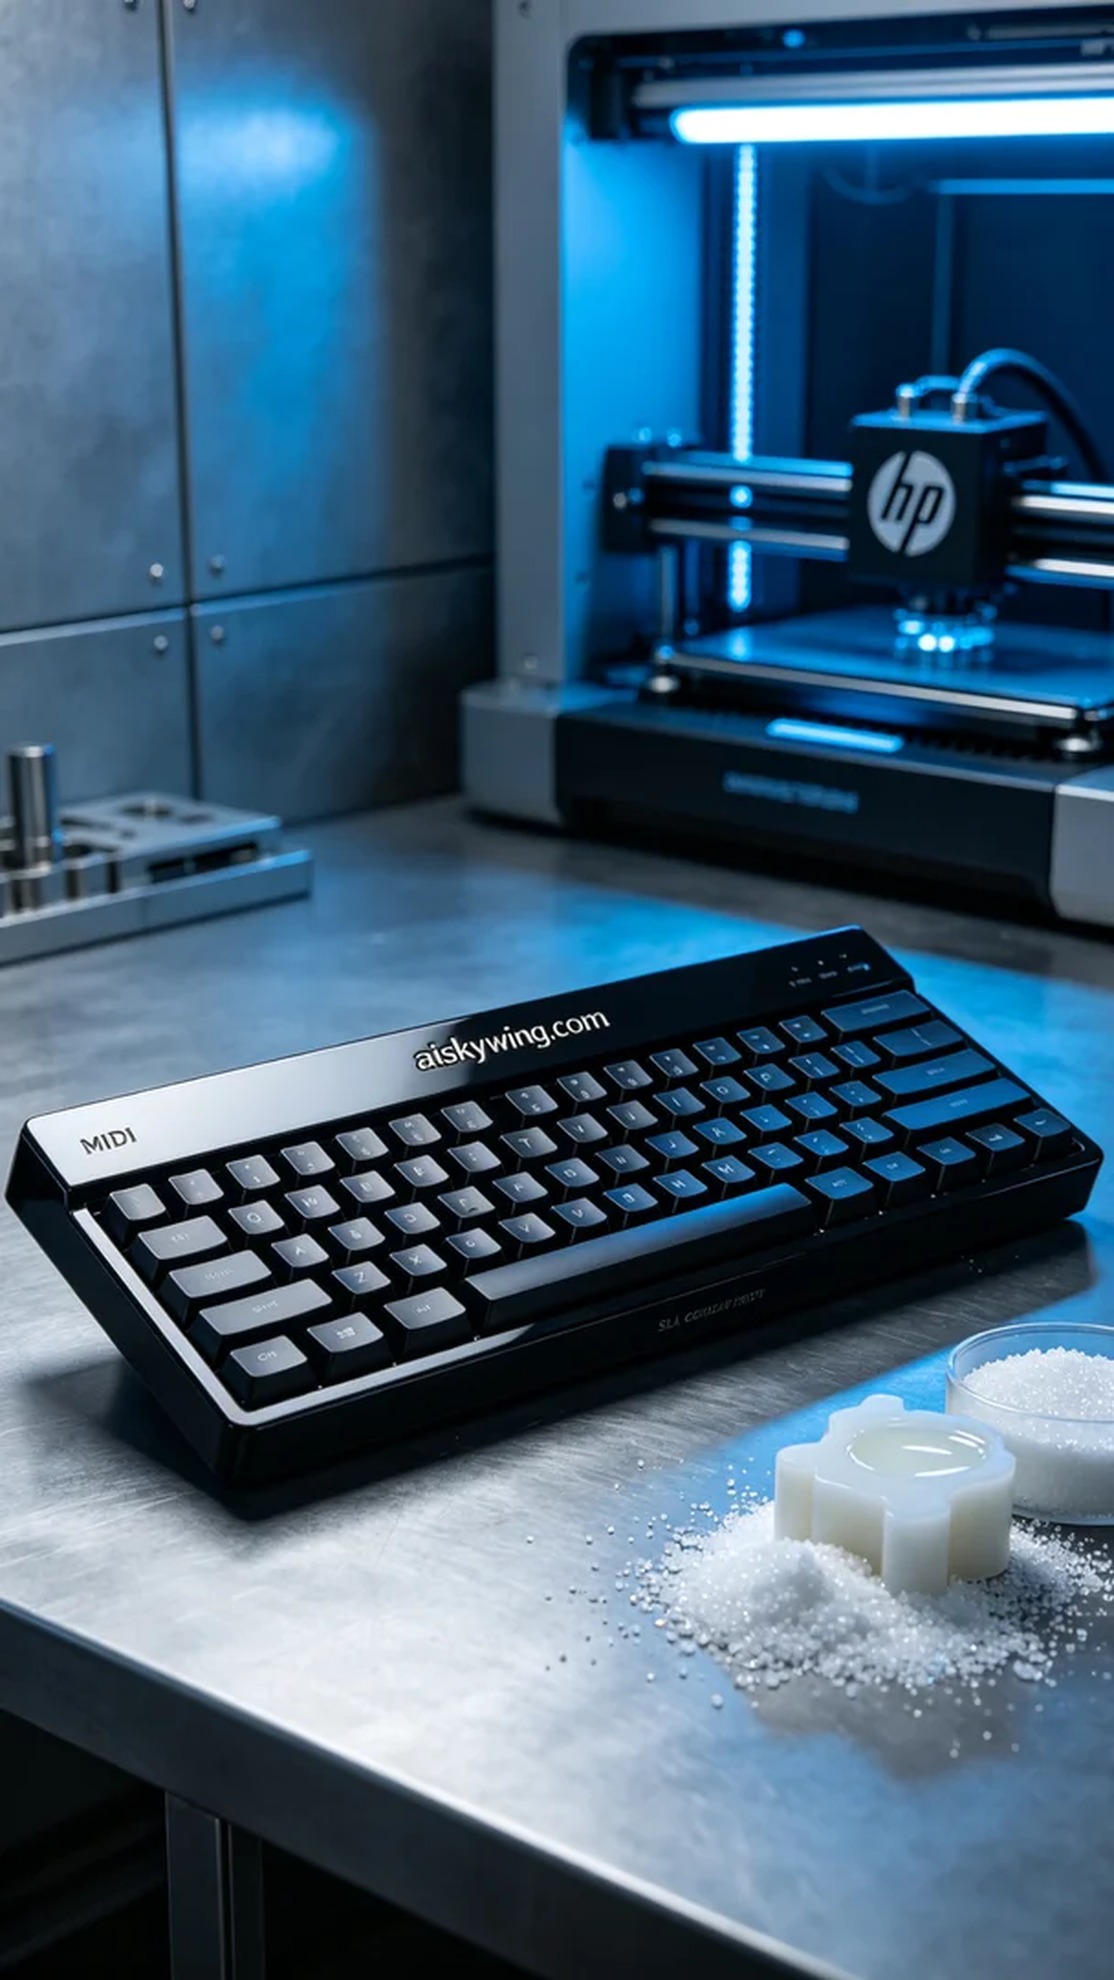
In life’s challenges, we can always find opportunities for growth. Recently, someone reached out to us about a MIDI keyboard shell project, hoping for a flawless result.
On WhatsApp, someone contacted me, expressing their desire for us to create a MIDI keyboard shell with high demands for detail and appearance. After discussing his needs, we decided to use SLA technology and high-quality photosensitive resin to realize his design.
During the preparation, we selected high-standard SLA resin to ensure a smooth and uniformly thick shell. I set the layer thickness to 0.05mm, controlled the printing temperature at 20℃, set the laser power to 80 milliwatts, and the speed at 50mm/s. The entire printing process was expected to take about six hours.
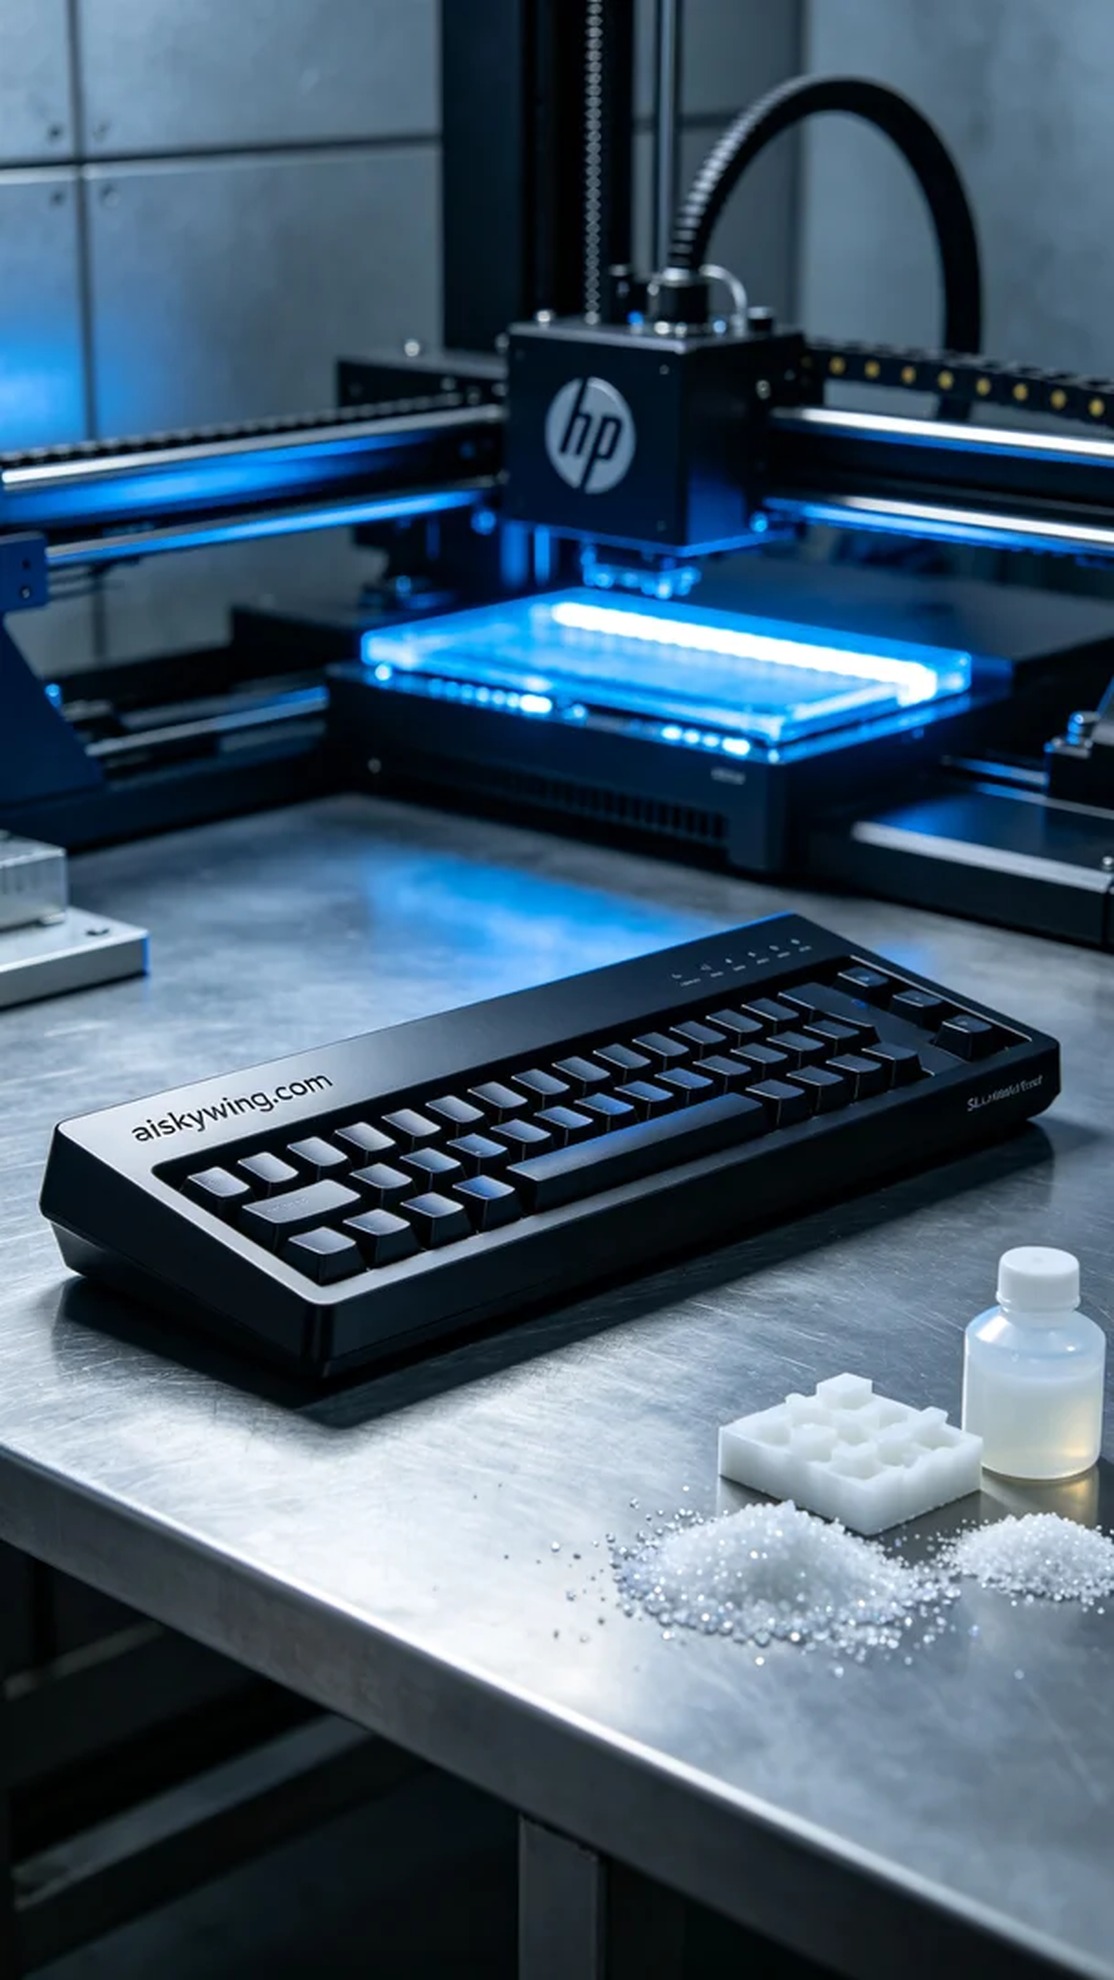
Throughout the printing process, the HP 3D printer operated steadily, with precise laser targeting and good resin flow and curing. Every now and then, I checked the progress to ensure there were no bubbles or resin shortages, and the entire process went smoothly.
After printing, we moved on to the post-processing stage. First, we soaked the formed shell in a cleaning agent to thoroughly remove uncured resin, then sanded it with fine sandpaper to eliminate surface imperfections. Next, the shell was placed in a UV curing box for solidification to ensure durability and gloss. Finally, we conducted a comprehensive inspection to ensure there were no defects.
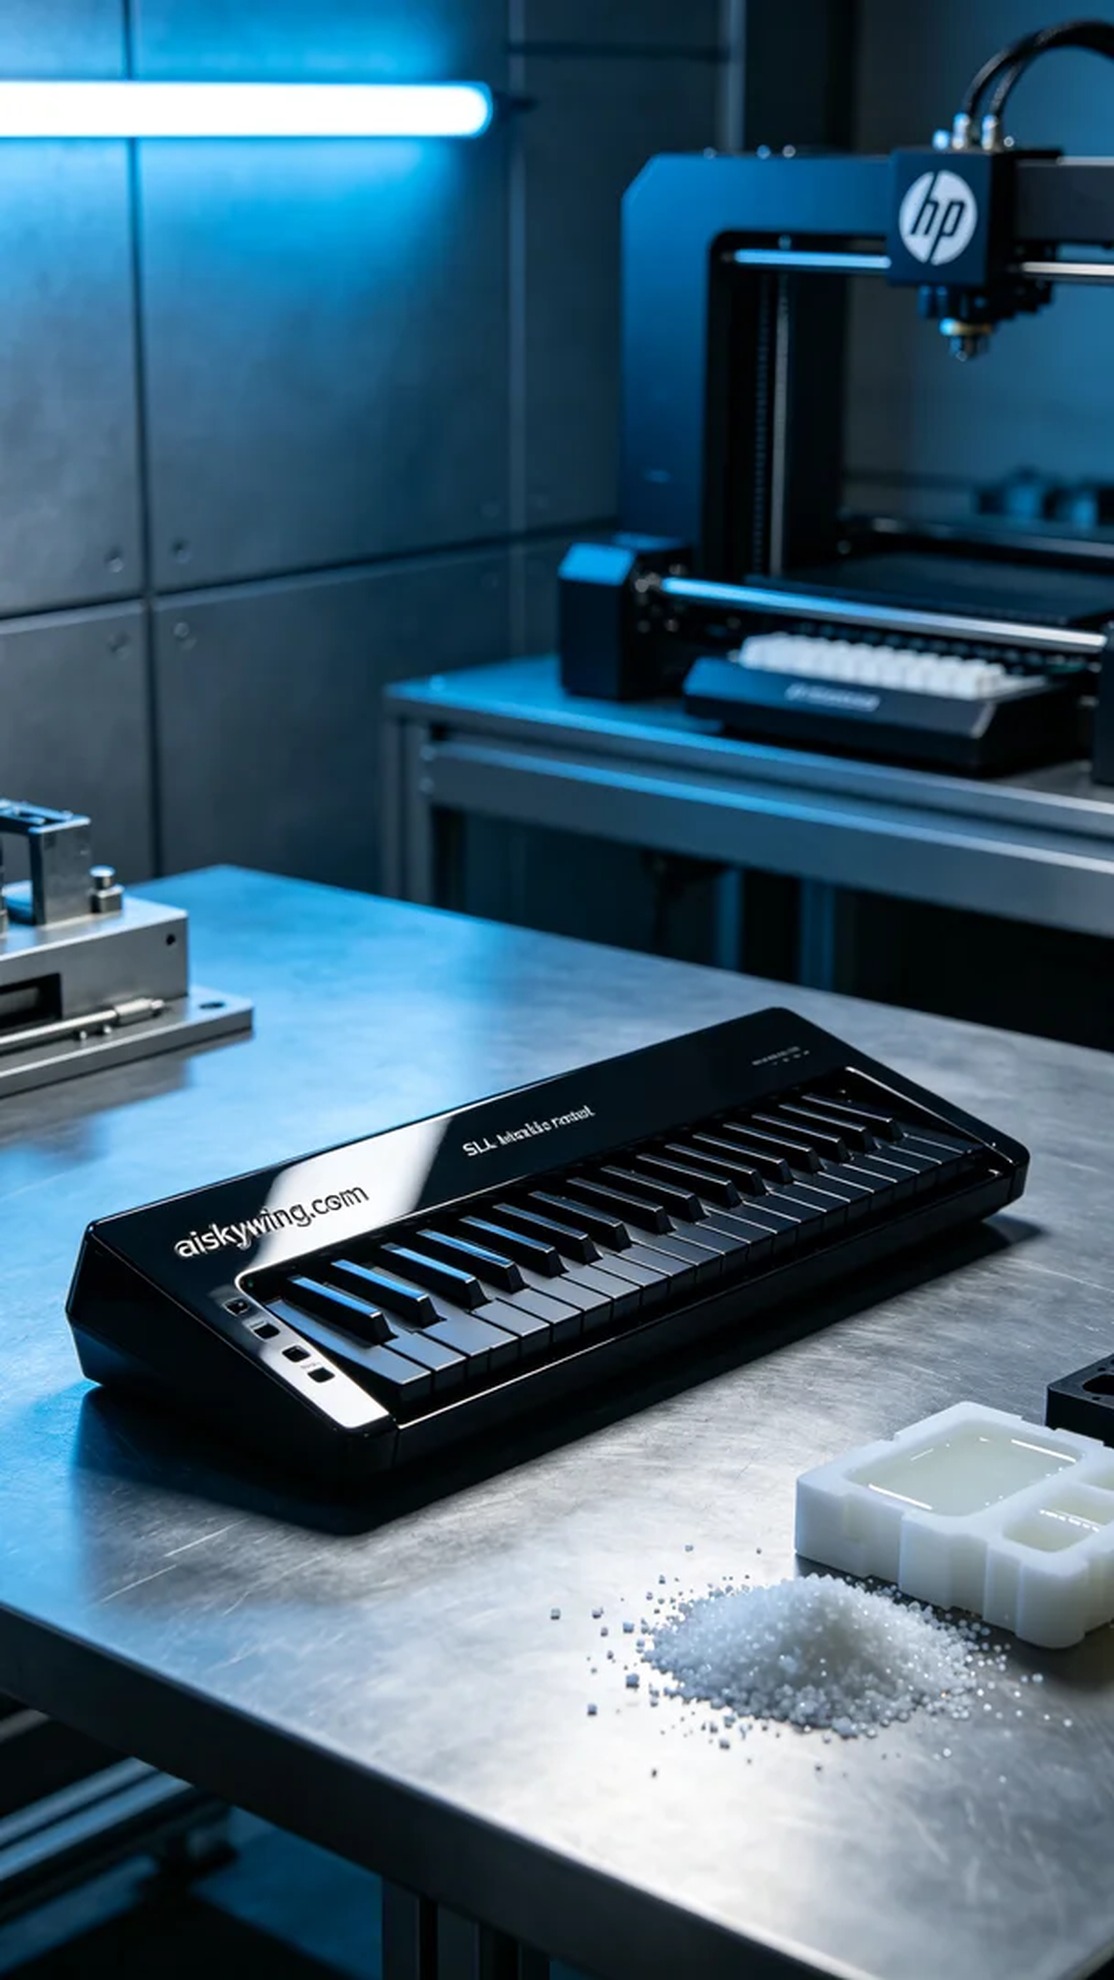
After a series of meticulous steps, we successfully completed the production of the MIDI keyboard shell, achieving a perfect result that met expectations. This outcome not only brings satisfaction but also reflects our commitment and dedication to every detail.
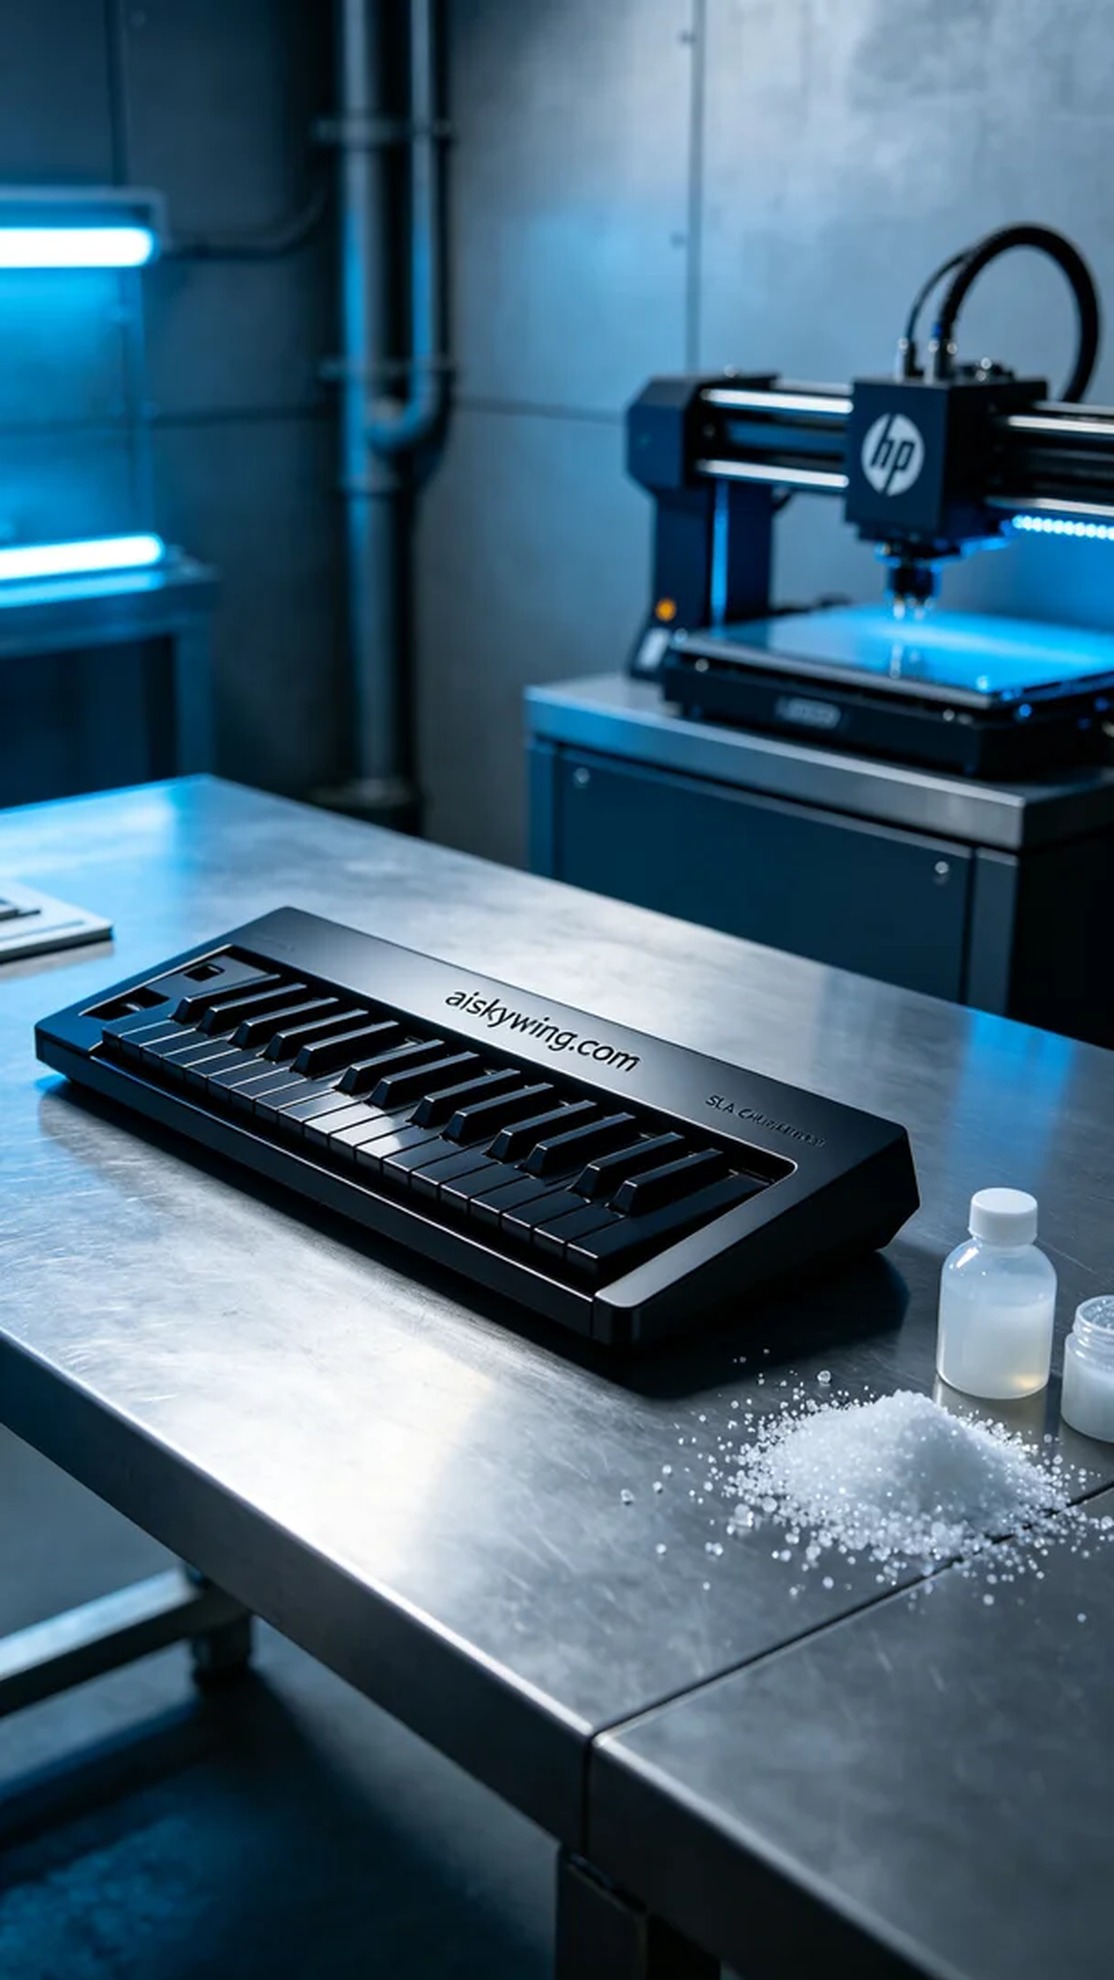
在WhatsApp上,有人联系我,表示希望我们能制作一个MIDI键盘外壳,他对细节和外观要求非常高。经过交流,了解他的需求后,我们决定采用SLA光固化工艺,用优质的光敏树脂来实现他的设计。
在准备工作中,我们选用的是高标准的SLA光固化树脂,确保打印出来的外壳表面光滑且厚度均匀。为了确保打印精度,我将层厚设置为0.05mm,打印温度控制在20℃,激光功率设定为80毫瓦,速度为50mm/s。整个打印过程预计需要约六小时。
打印过程中,HP 3D打印机的运行十分稳定,激光靶点准确,树脂的流动性和固化效果良好。在每隔一段时间,我都会检查一次打印进度,确保没有出现气泡或者树脂不足的情况,整个过程顺利进行。
打印完成后,我们进入了后处理环节。首先将成型的外壳浸泡在清洗剂中,彻底清除未固化的树脂,随后用细砂纸进行打磨,以去除表面瑕疵。接下来,外壳被放入UV固化箱中进行固化,确保其耐用性和光泽度。最后,我们进行了一次全面的检验,确保没有任何缺陷。
经过一系列精细的工序,最终我们成功完成了这个MIDI键盘外壳的制作,效果达到了预期的完美。这样的成果不仅让人欣慰,也反映了我们对每一个细节的坚持和执着。
Aiskywing Industrial 3D Printing
MIDI keyboard casing
▼

Contact Us
📞 Tel: +0086-760-85286839
📧 Email: skywing3d@163.com