0804-Pet Nail File Handle - Aiskywing Industrial 3D Printing Showcase

▼
3D打印宠物指甲锉手柄的制作过程
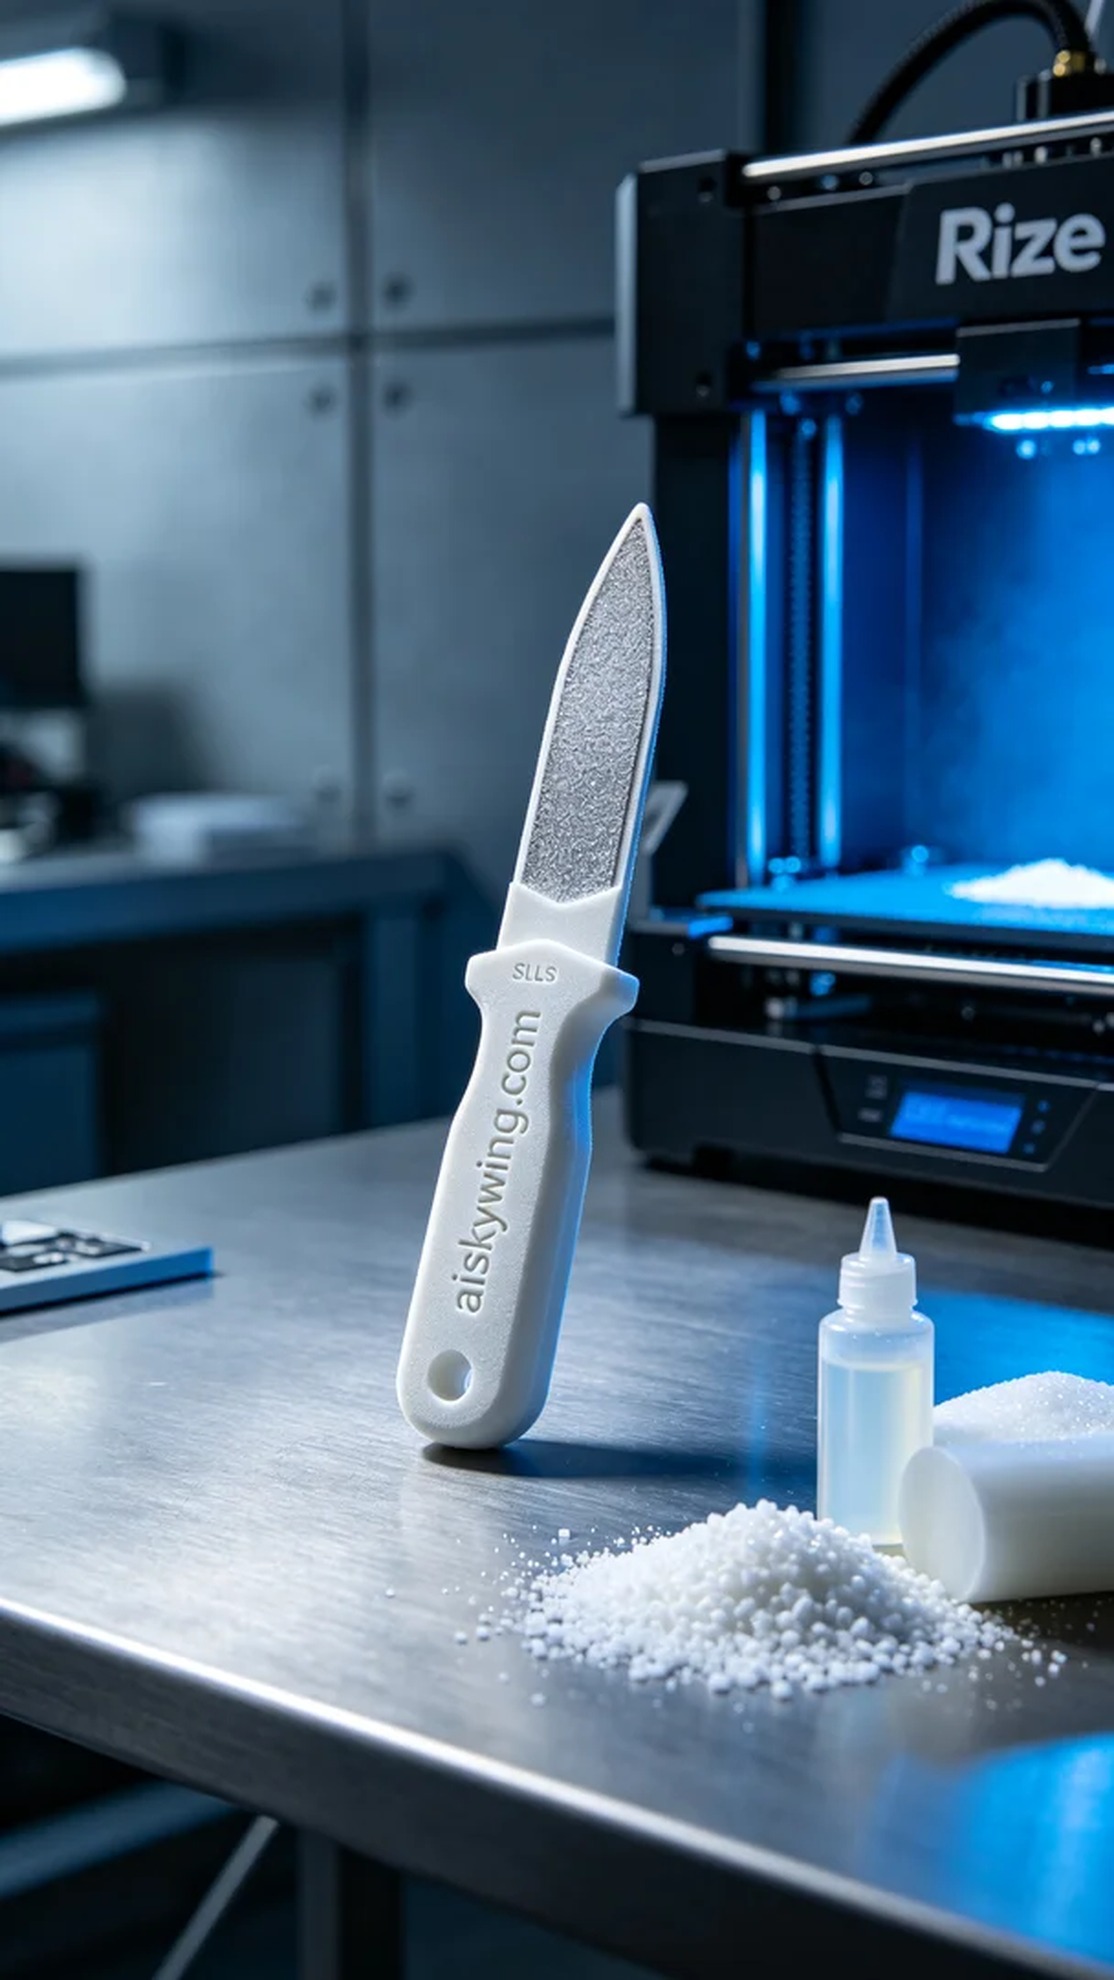
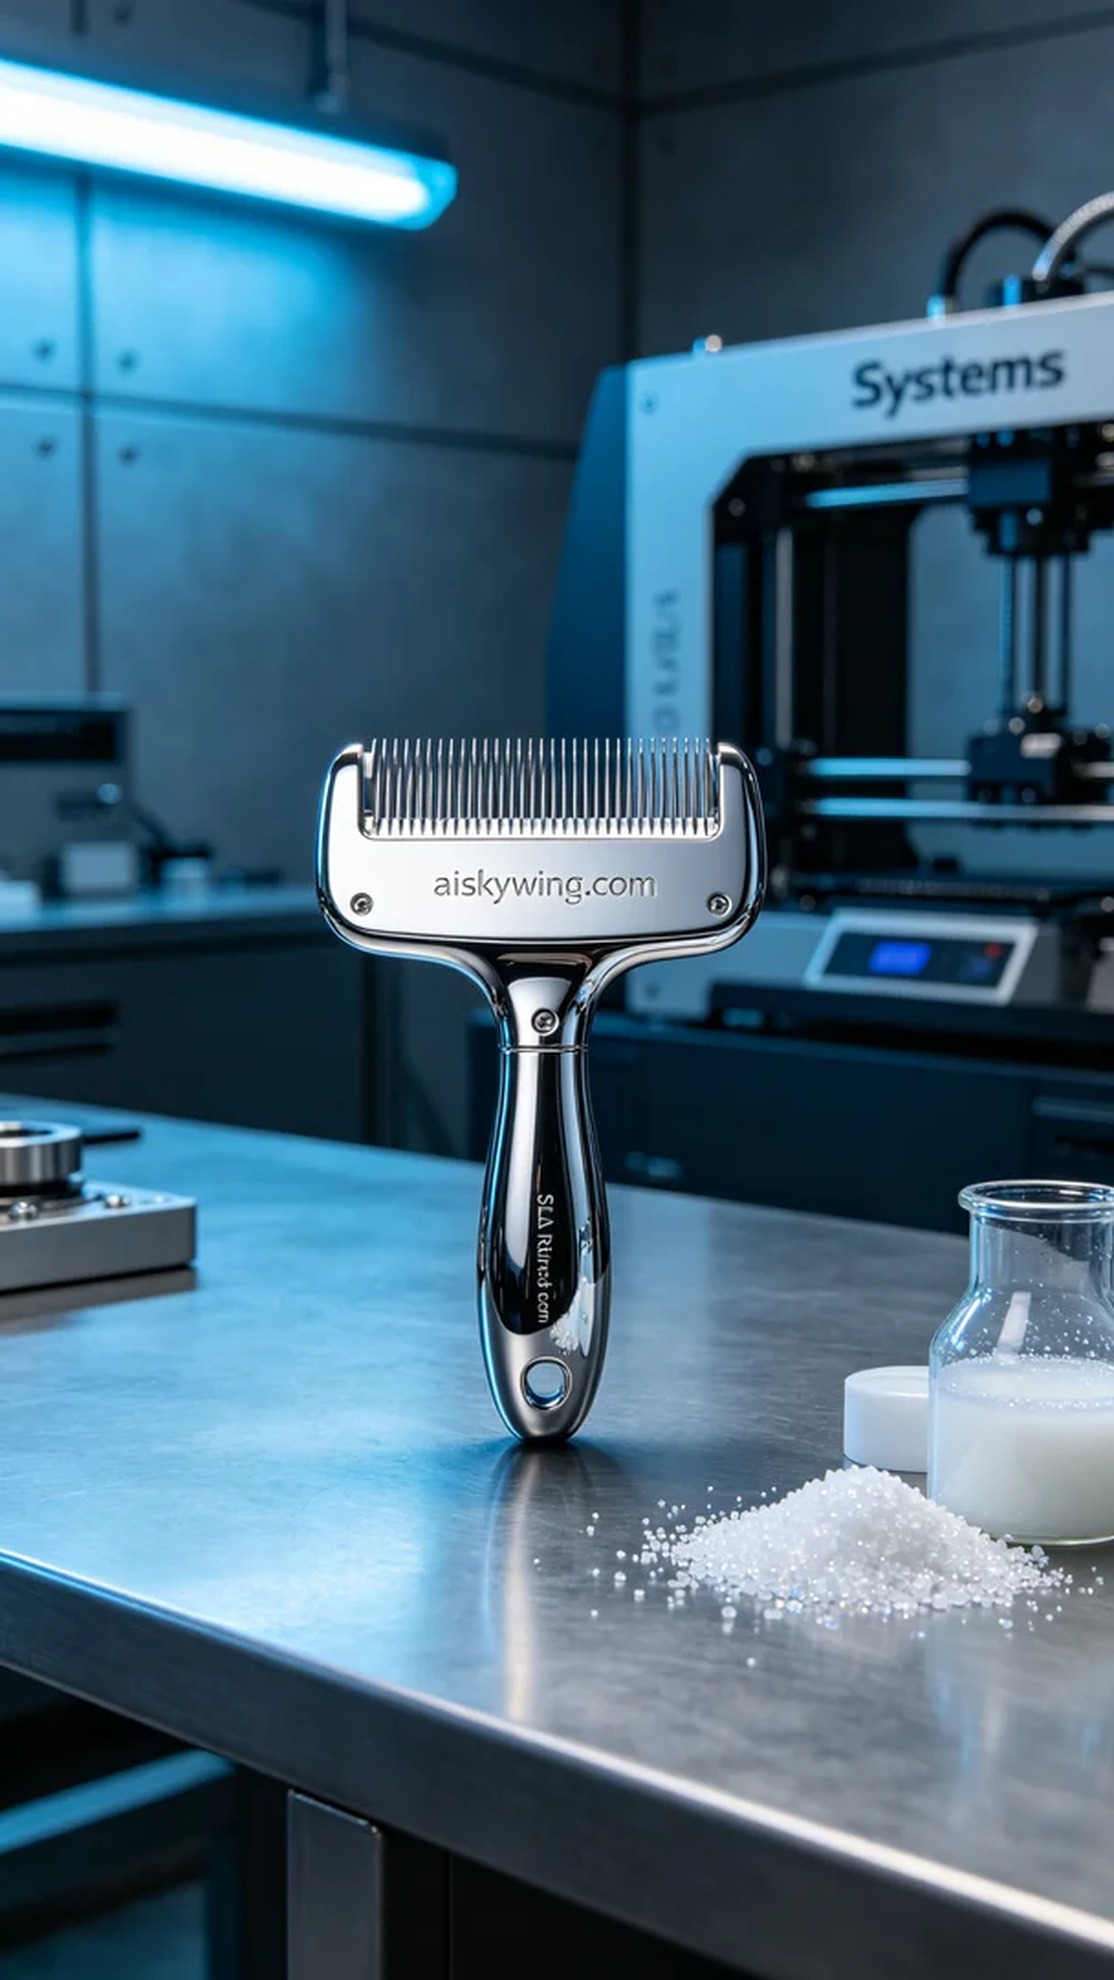
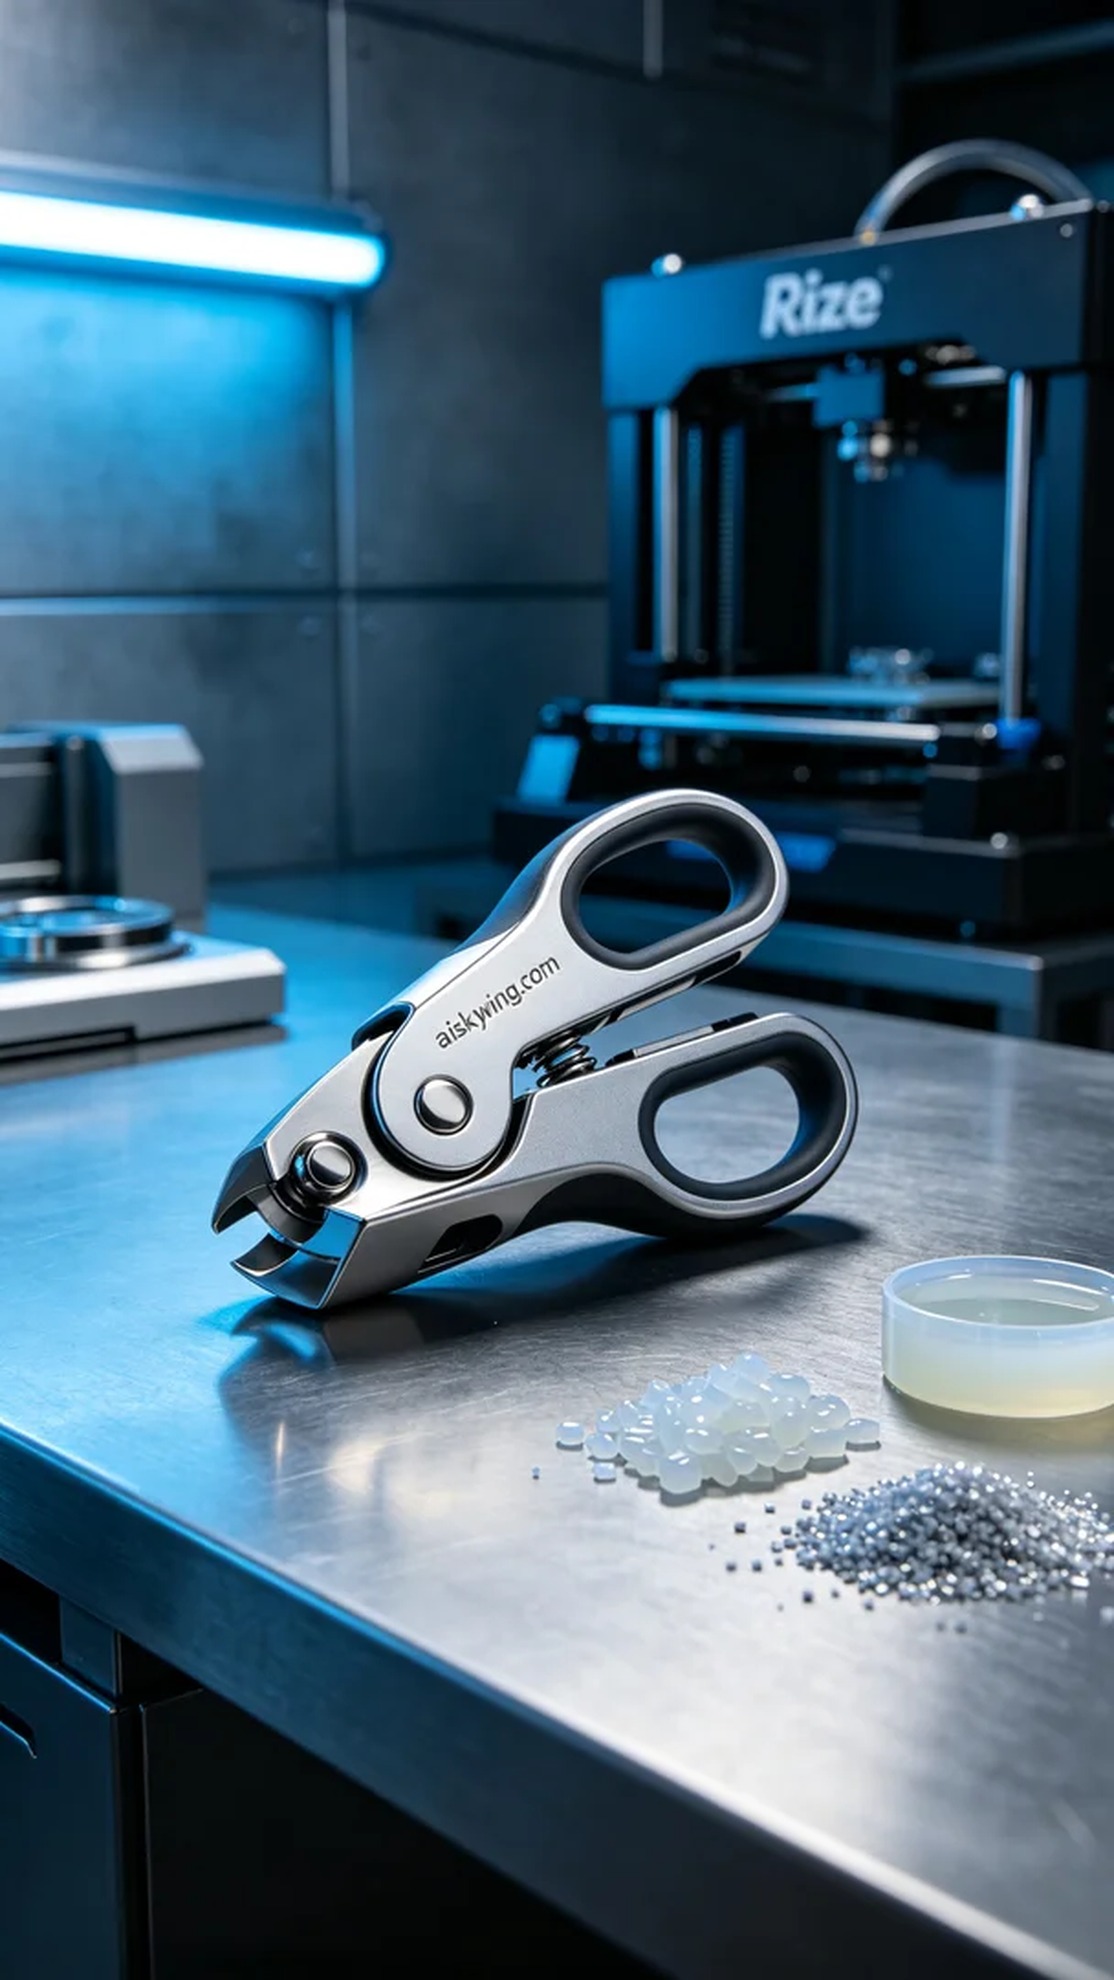
Pet Nail File Handle
在生活的每一个细节中,我们都可以找到创造的乐趣。今天,我接到一个关于宠物指甲锉手柄的单子,准备为它赋予全新的生命。
In every detail of life, we can find the joy of creation. Today, I received an order for a pet nail file handle and I'm ready to give it a whole new life.
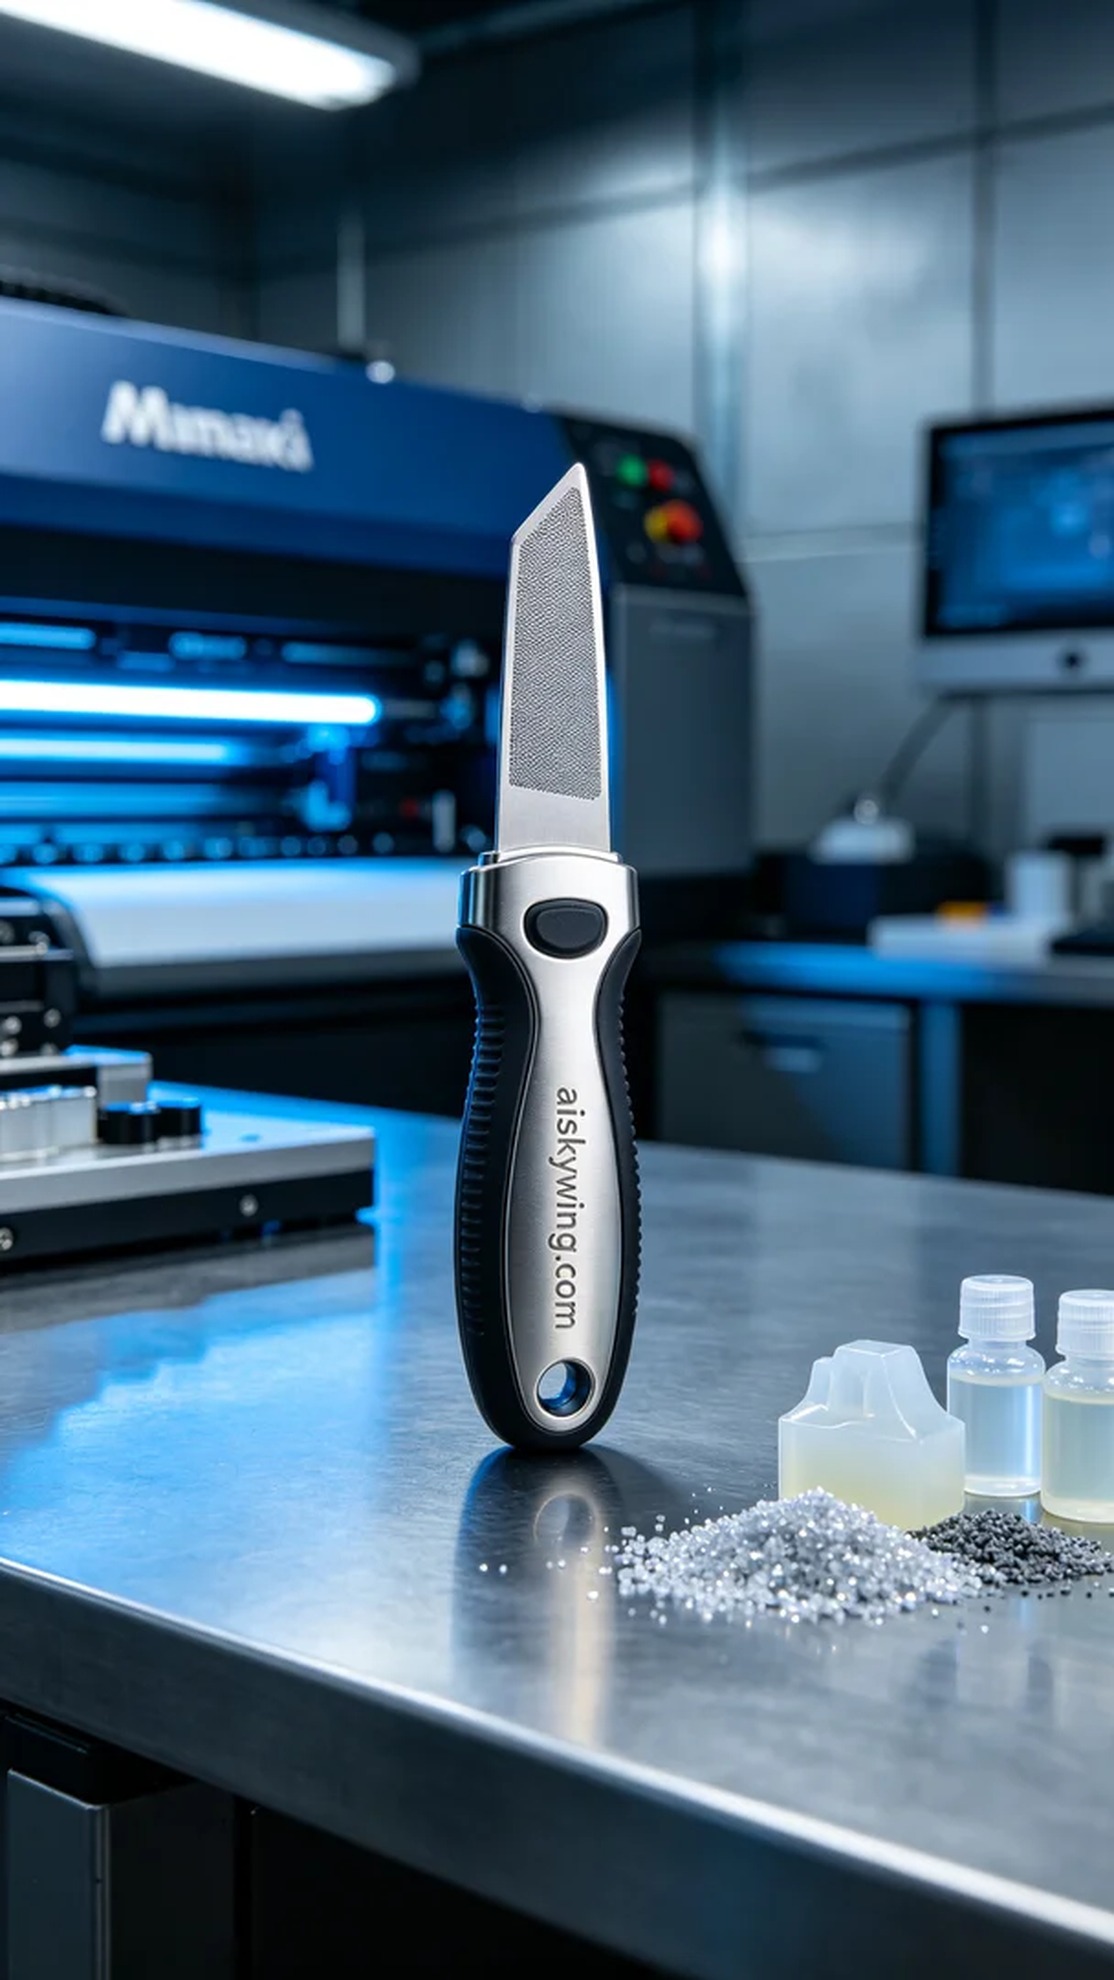
In the details of life, we can find the joy of creation. Today, I received a request for a pet nail file handle, ready to give it new life.
The material used for this print is the liquid photopolymer resin placed in front of me, which possesses excellent photopolymerization properties. During the preparation, I carefully adjusted the parameters of the Mimaki printer, setting a layer thickness of 0.1mm, maintaining a printing temperature of 25 degrees Celsius, with a power of 50% and a speed of 40mm per second. After several trials, I quickly found the optimal printing settings.
As the printing process commenced, I loaded the liquid photopolymer resin into the printer's vat. As the printer's nozzle began to precisely layer the resin, I closely monitored the machine's operation to ensure each layer cured properly. The entire process took about three hours, during which I periodically checked the print quality to ensure there were no abnormalities.
After completing the print, the next step was post-processing. I first removed the printed handle from the build plate and cleaned it with a special cleaning agent to remove any uncured resin. Then, I meticulously sanded the handle to ensure a smooth and flawless surface. Finally, I placed the handle in a UV curing machine to solidify it, ensuring its structure was more robust. After a thorough quality inspection, I confirmed the handle was in perfect condition.
This entire project, from start to finish, allowed me to experience the charm and joy of 3D printing. This pet nail file handle not only solved a practical need but also gave me a sense of satisfaction with creation at every step.
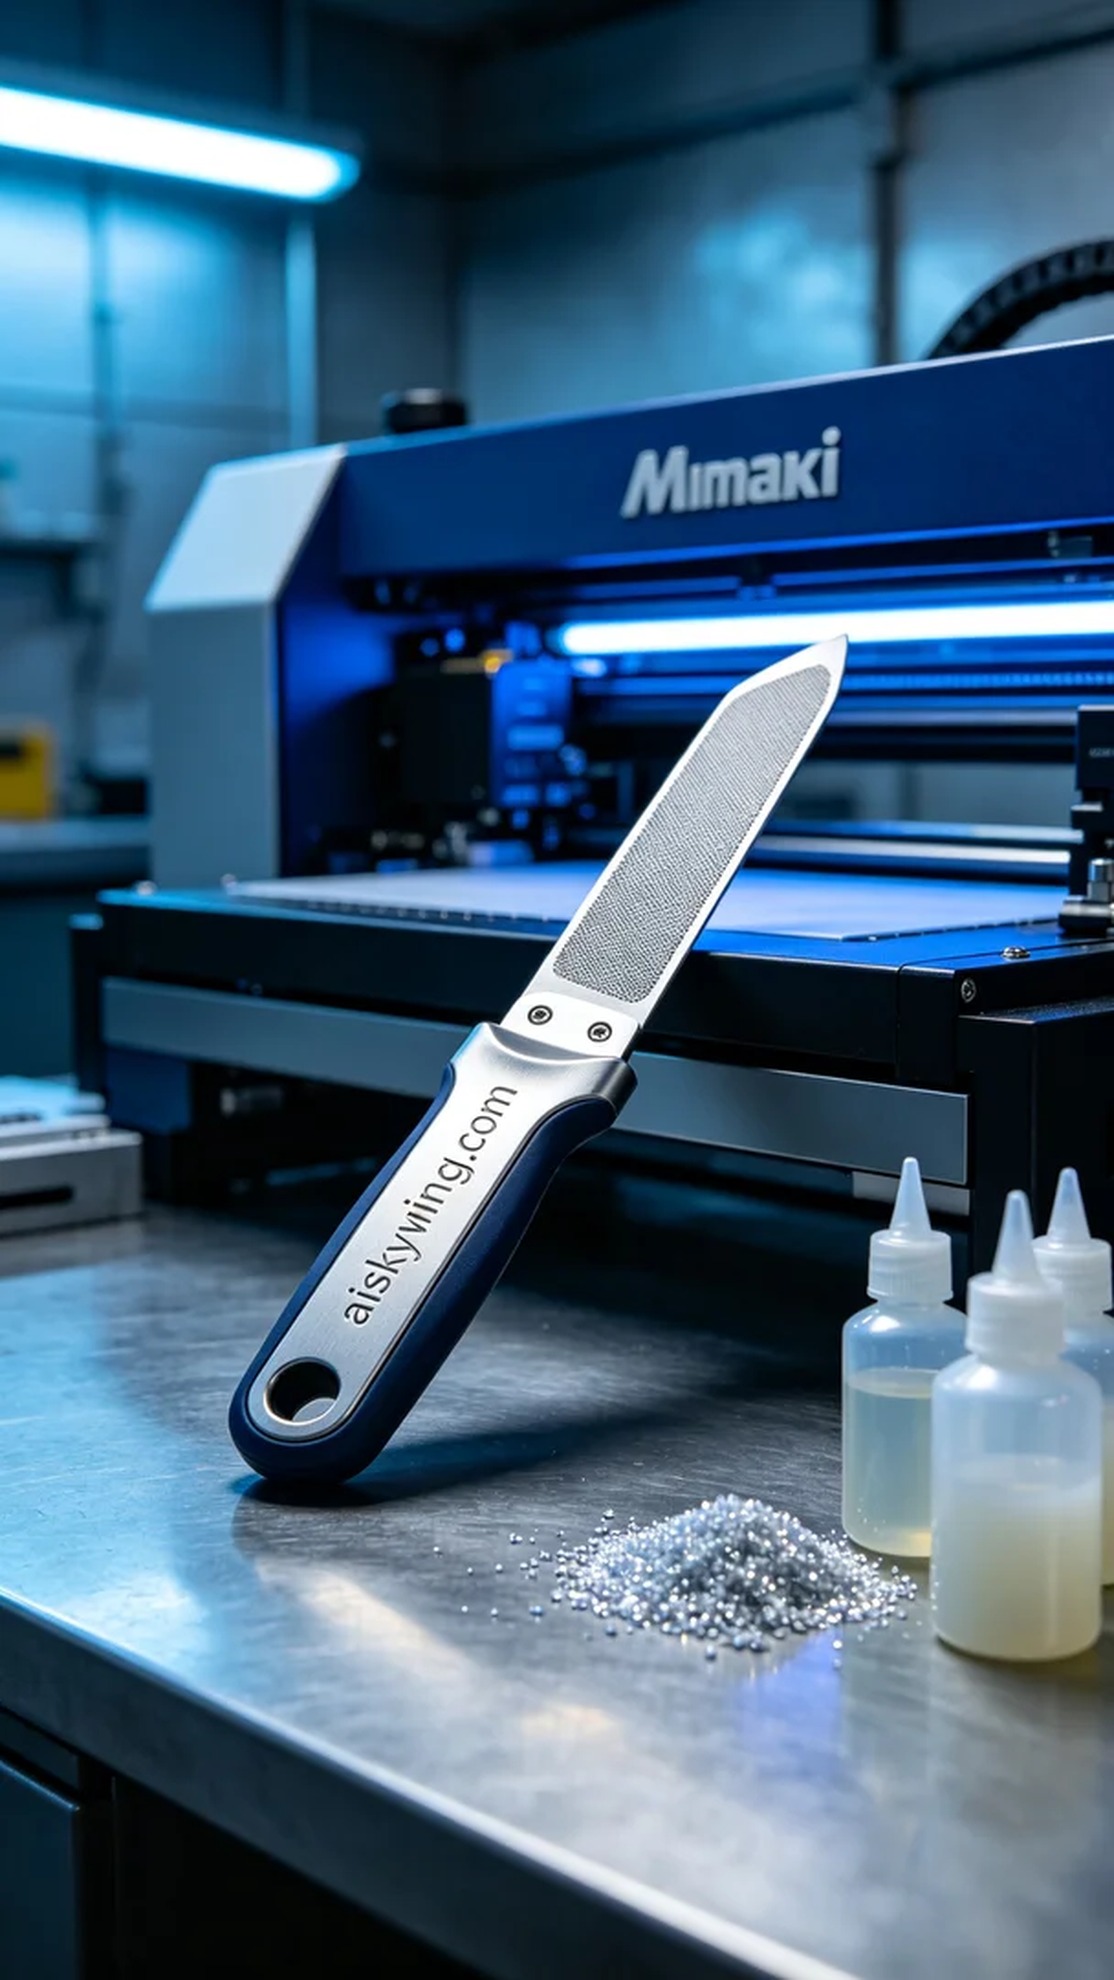
YouTube上,有人因寻找高质量的宠物指甲锉手柄而找到了我。他们希望能有一个既坚固又舒适的手柄,以便在给宠物修指甲时能有更好的体验。于是,我决定为他们打印这个宠物指甲锉手柄。
这次打印使用的原材料是摆放着未成型的液态光敏树脂,具备优良的光固化特性。准备工作中,我仔细调校了Mimaki打印机的参数,设定了一层厚度为0.1毫米,打印温度保持在25摄氏度,功率为50%,打印速度设定为40毫米每秒。经过几次试验,我很快找到了最佳的打印设置。
打印过程开始时,我首先将液态光敏树脂装入打印机的料斗中。随着打印机的喷头开始精确地将树脂分层喷涂,我密切关注着设备的运行状态,确保每一层都能顺利固化。整个过程持续了大约三个小时,期间我定期检查打印质量,确保没有出现任何异常。
完成打印后,接下来是后处理工序。首先将打印的手柄从打印床上取下,使用专业清洗剂对其进行清洗,去除未固化的树脂。之后,我对手柄进行细致打磨,使其表面光滑且无瑕疵。最后,将手柄置于UV固化机中进行固化,确保其结构更为坚固。经过严密的质量检验,最终确认了手柄的完美状态。
整个项目从开始到完成,让我体会到了3D打印的魅力与乐趣。这个宠物指甲锉手柄不仅解决了实际需求,更让我在每一步中感受到了创造的满足感。
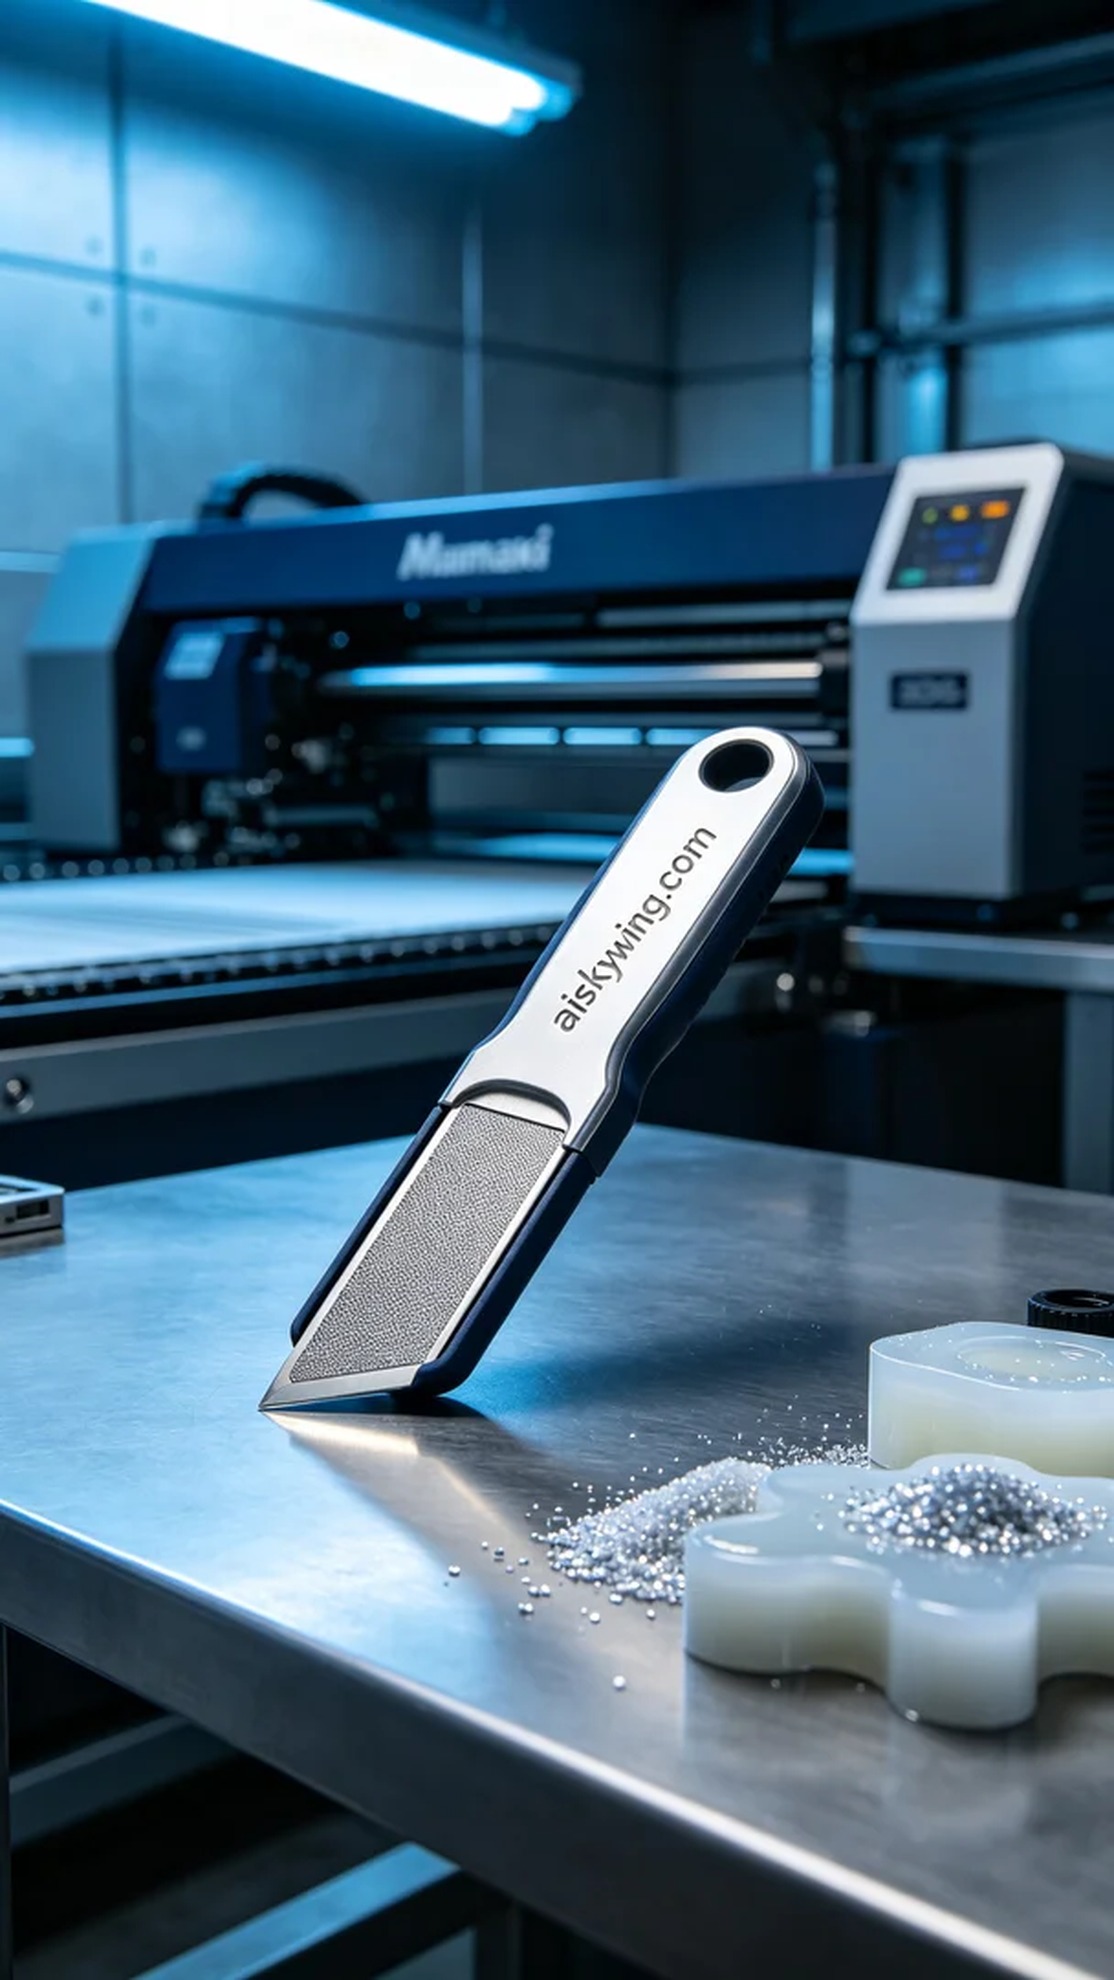
Aiskywing Industrial 3D Printing
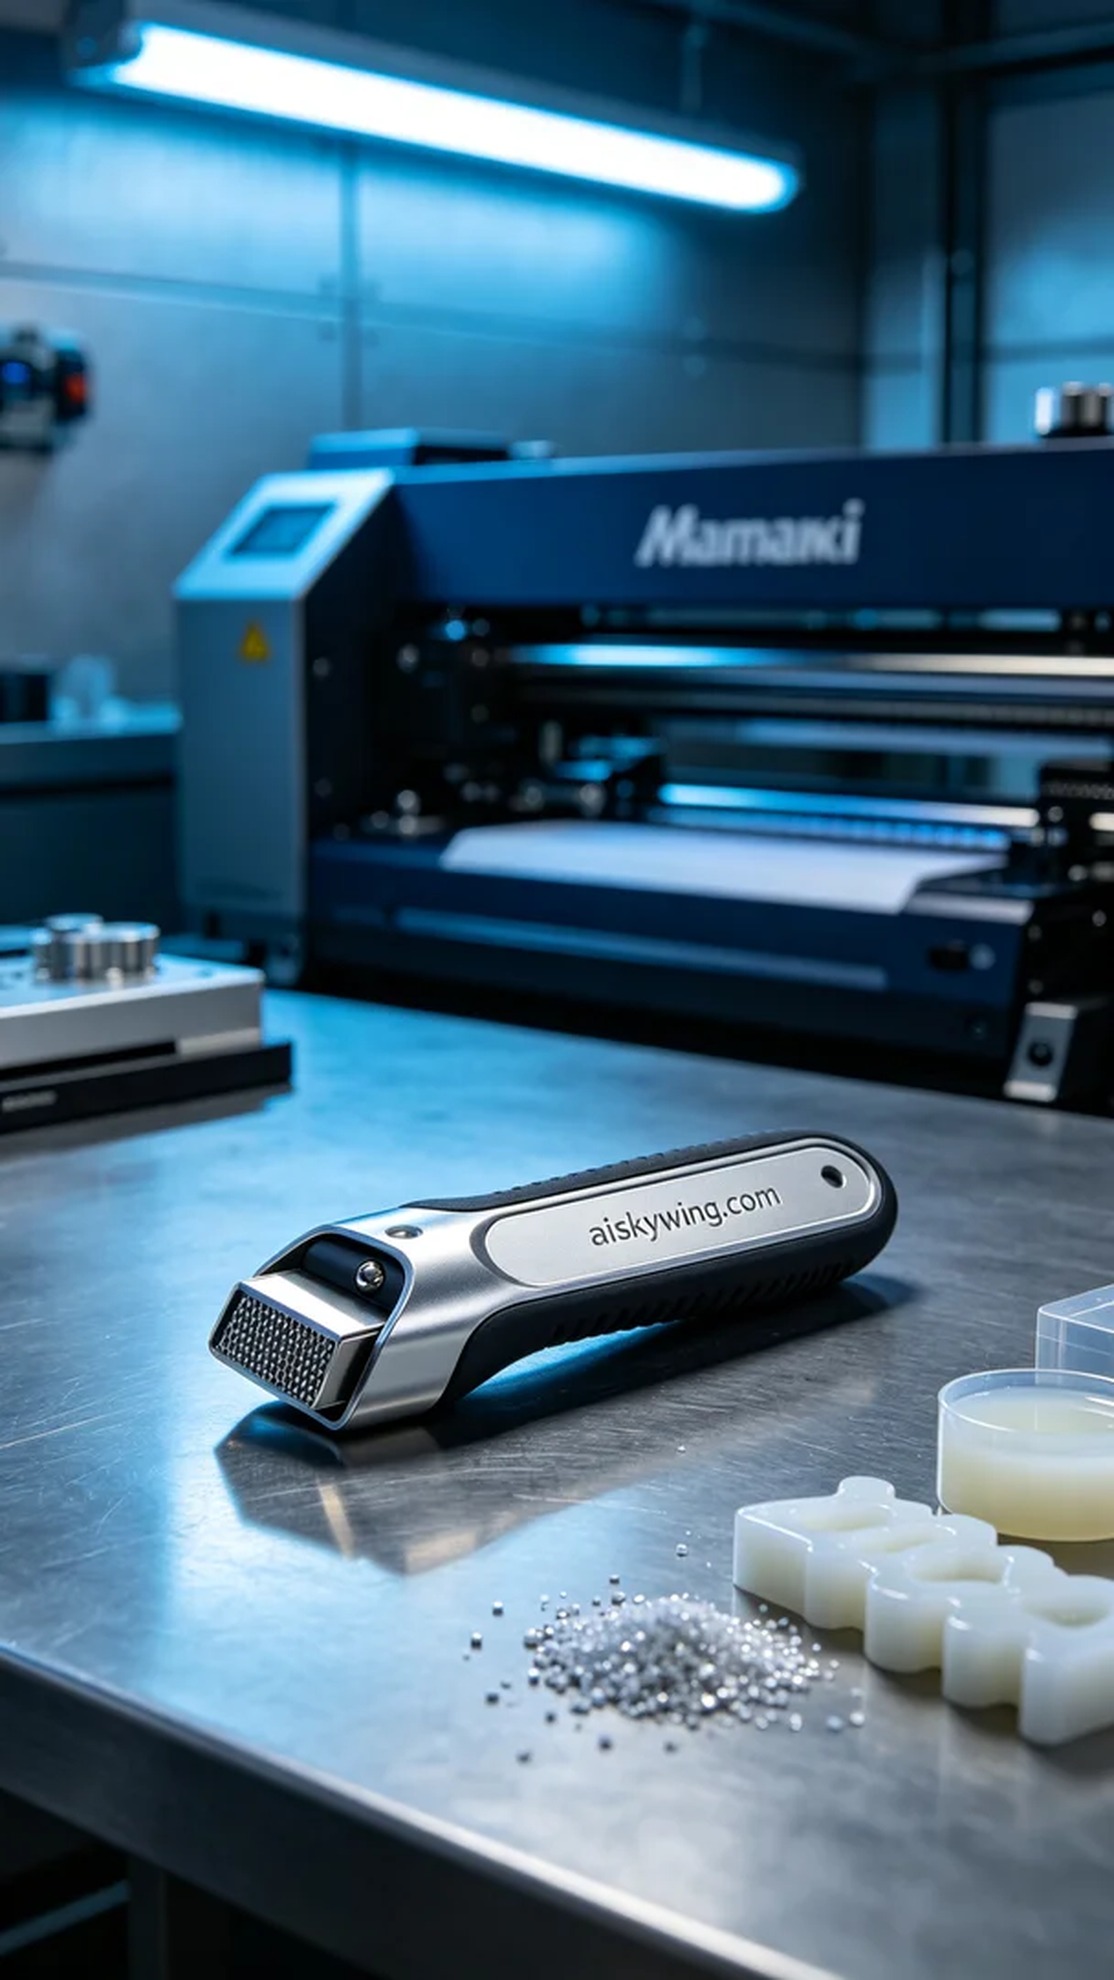
Pet Nail File Handle
▼

Contact Us
📞 Tel: +0086-760-85286839
📧 Email: skywing3d@163.com